
Holes and dents
Small dings, anchor blowouts, doorknob hits, and larger holes that need backing, a patch, and proper feathering so the wall stays flat.
Serving Regina, Saskatchewan & surrounding areas
Mon–Fri 8am–6pm · Sat 9am–2pm
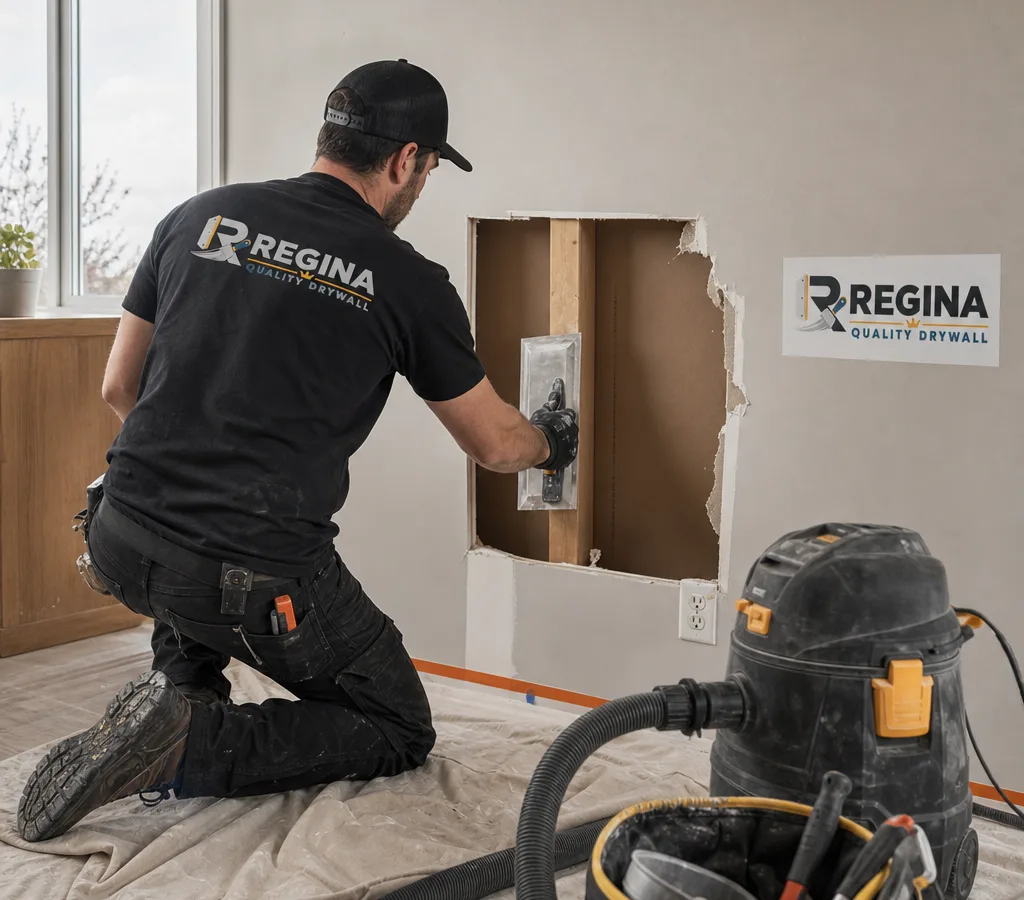
Drywall Repair · Regina, Saskatchewan
From doorknob holes to water stains and recurring cracks, we restore walls and ceilings so the patch disappears after paint. Expect tidy work habits, clear scheduling, and a finish that looks flat in real light.
Repairs made to disappear
When you search for drywall repair Regina, you usually want one thing: the damage fixed so it does not keep catching your eye. That takes more than filling a hole. Texture, paper edges, screw dimples, and light angles all matter, especially on ceilings and long hallway walls.
Regina Quality Drywall handles drywall repairs for typical residential and small commercial spaces across Regina, SK (S4M and surrounding areas). We focus on repairs that are ready for paint, with a smooth transition at the edges so you do not see a ridge once the room is finished.
Drywall problems can come from everyday impacts, building movement, previous patch jobs, or moisture events. The right approach depends on what failed. A crack that keeps returning often needs reinforcement and a wider feather, while a soft spot from water damage may require cutting back to solid material and addressing what is behind the board before any patch goes in.
If you are comparing contractors, start with the basics: a clear scope—what gets cut out and replaced versus skimmed—realistic drying time, how dust will be controlled, and what the finished surface will look like under normal room lighting. Those are the details that decide whether a repair disappears or stays visible.
Repair capabilities
Small dings, anchor blowouts, doorknob hits, and larger holes that need backing, a patch, and proper feathering so the wall stays flat.
Recurring cracks in tape lines, inside corners, and around doors and windows. We remove loose material, reinforce where needed, and retape or patch to reduce re-cracking.
Pops, small sagging areas, and patching after electrical or plumbing access. Ceilings show flaws easily, so we aim for a level finish that reads clean in raking light.
Staining, softness, and crumbling gypsum after a leak. Repairs typically involve cutting back to sound board, replacing affected sections, and blending the surface for paint readiness.
High spots, flashing edges, and rough texture that shows through paint. We correct the profile and smooth the transition so the area blends with the surrounding wall.
Gaps and torn paper after removing baseboards, cabinets, mirrors, or wall-mounted TVs. We rebuild the surface so it finishes cleanly after reinstallation or repainting.
Stable surface · smooth plane
Good drywall repair is mostly prep and finish work. The goal is not just to fill the damaged spot, but to rebuild a stable surface and a smooth plane so paint does not highlight the repair.
Here is what that usually means on real jobs:
Regina’s long winters mean indoor humidity can swing over the year, and houses can move a bit between seasons. That is one reason we pay attention to joint preparation and reinforcement on cracks, not just surface filler.
For an overview of our local service area and general drywall work, Drywall Regina covers the broader scope we handle.
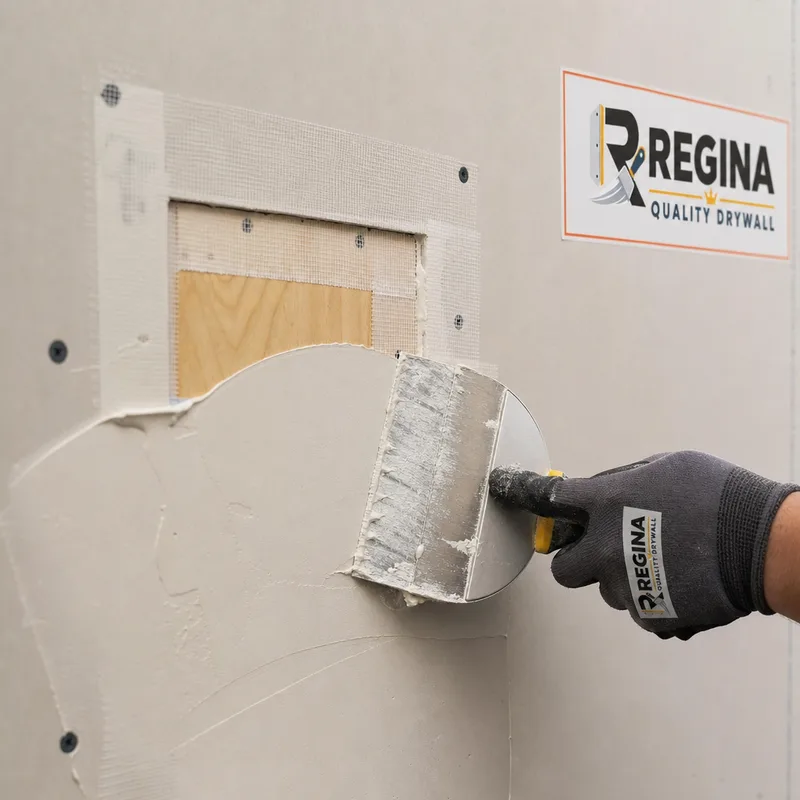
Clear from assessment to cleanup
We look at what failed—impact, movement, moisture, or a poor prior patch—and confirm the cut-out, reinforcement, texture needs, and intended finish.
We stage tools, cover nearby floors and items, and plan sanding and cleanup so the room stays livable. Dust control starts before the first cut.
We patch or replace drywall as needed, secure edges, install backing, and handle corner bead or joint repairs so the surface is stable.
We apply tape and multiple coats, allow proper drying time, then sand and refine the surface. If texture is required, we blend it with the surrounding area.
We check the repair under good lighting for edges or ripples, tidy the work area, and leave the surface ready for primer and paint based on your plan.
Pricing based on the actual repair
Drywall repair in Regina typically ranges from about $150 to $450 for a small patch—minor holes, dents, or a short crack—while larger repairs such as multi-area damage, ceiling work, or water-damaged sections often run $500 to $1,500+ depending on scope.
Your price depends on the size and number of areas, ceiling versus wall access, how much material must be cut out and replaced, texture matching, drying time between coats, and how much prep is needed for paint. The exact cost is confirmed after a quick on-site look at the damage and finish requirements.
Repair finish examples
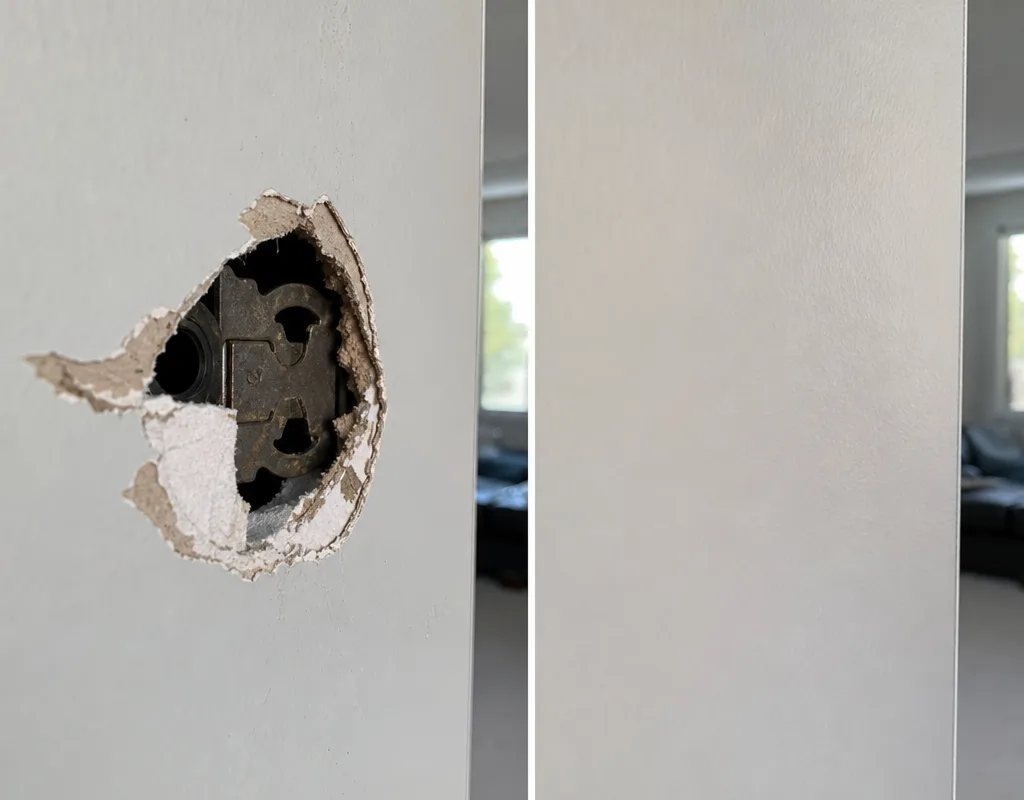
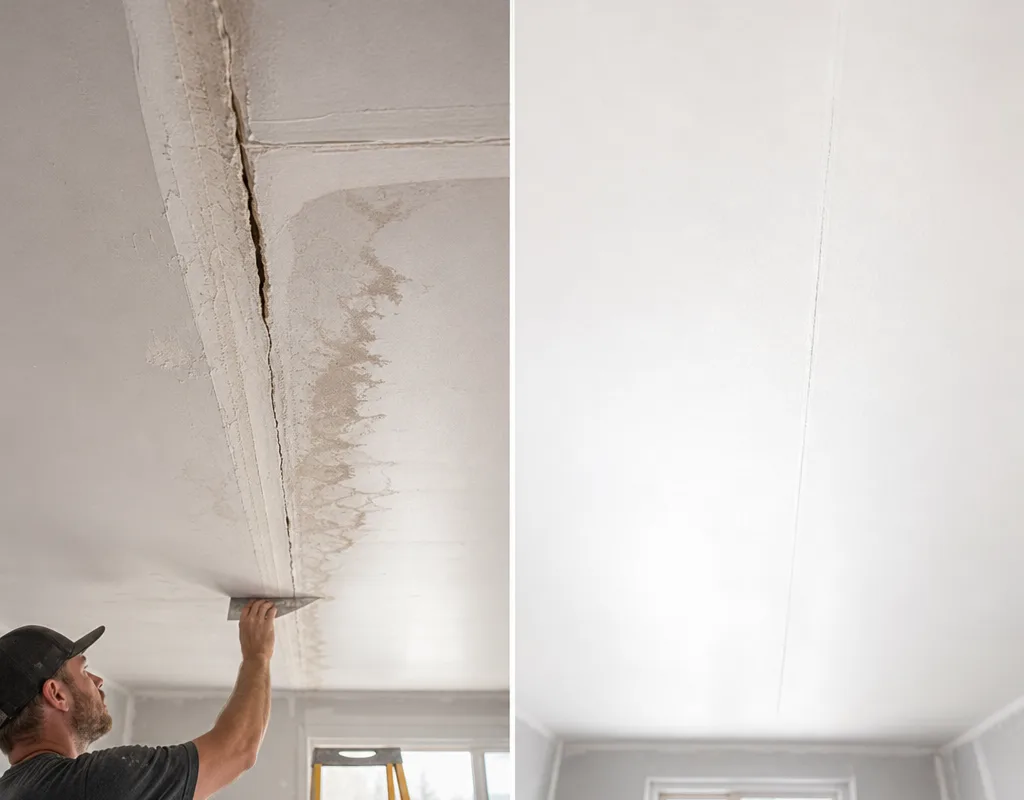
Local repair conditions
Some parts of Regina housing and commercial space make certain drywall issues more common, and they affect how we plan the repair.
In newer neighborhoods such as Harbour Landing, seasonal movement can show up as hairline cracks at joints or around openings. Those repairs often need proper taping and feathering, not just a surface skim.
In established areas like Cathedral and Lakeview, older walls and prior renovations sometimes leave multiple layers of patches, mixed textures, or worn corner bead. The best result usually comes from flattening and reworking a wider area so paint does not telegraph the history underneath.
In East Regina, including The Greens on Gardiner, wall-mounted hardware and everyday impacts are common sources of damage. Managing torn paper and rebuilding a flat profile makes the difference.
Downtown offices and small retail units frequently need timely repairs after electrical or plumbing access. Where repair is tied to a larger interior project, coordinating repairs and new board work helps keep the finish consistent.
Check Your Repair LocationClear answers before repair day
Most small repairs can be completed in one visit, but drying time between coats can stretch the job over 1 to 3 days. Patch size, compound choice, humidity, and texture matching all affect timing.
Yes, the goal is a surface ready for primer and paint, with a smooth transition that does not flash through the finish. Areas stained by a previous leak may also require stain-blocking primer.
In most cases, yes, but matching depends on the existing texture and how it was applied. We explain whether the match should be nearly invisible or whether a larger blend area is needed.
Cracks often return when the joint moves and the repair only fills the surface. A longer-lasting repair usually removes loose material, reinforces the joint, and retapes it with suitable compound and feather width.
We repair water-damaged drywall when the affected area can be cut back to dry, solid material and the moisture source is resolved. Soft, crumbling, or widespread damage typically requires replacement of the affected section.
Clear a path and move small items away from the work zone so protection and ladders can be set safely. Let us know about ceiling, stairwell, or other access constraints in advance.
Plan the right repair
Send a few details about the damage and the room, and we will provide a clear repair plan and schedule. If it helps, include photos so we can recommend the right approach before we arrive.